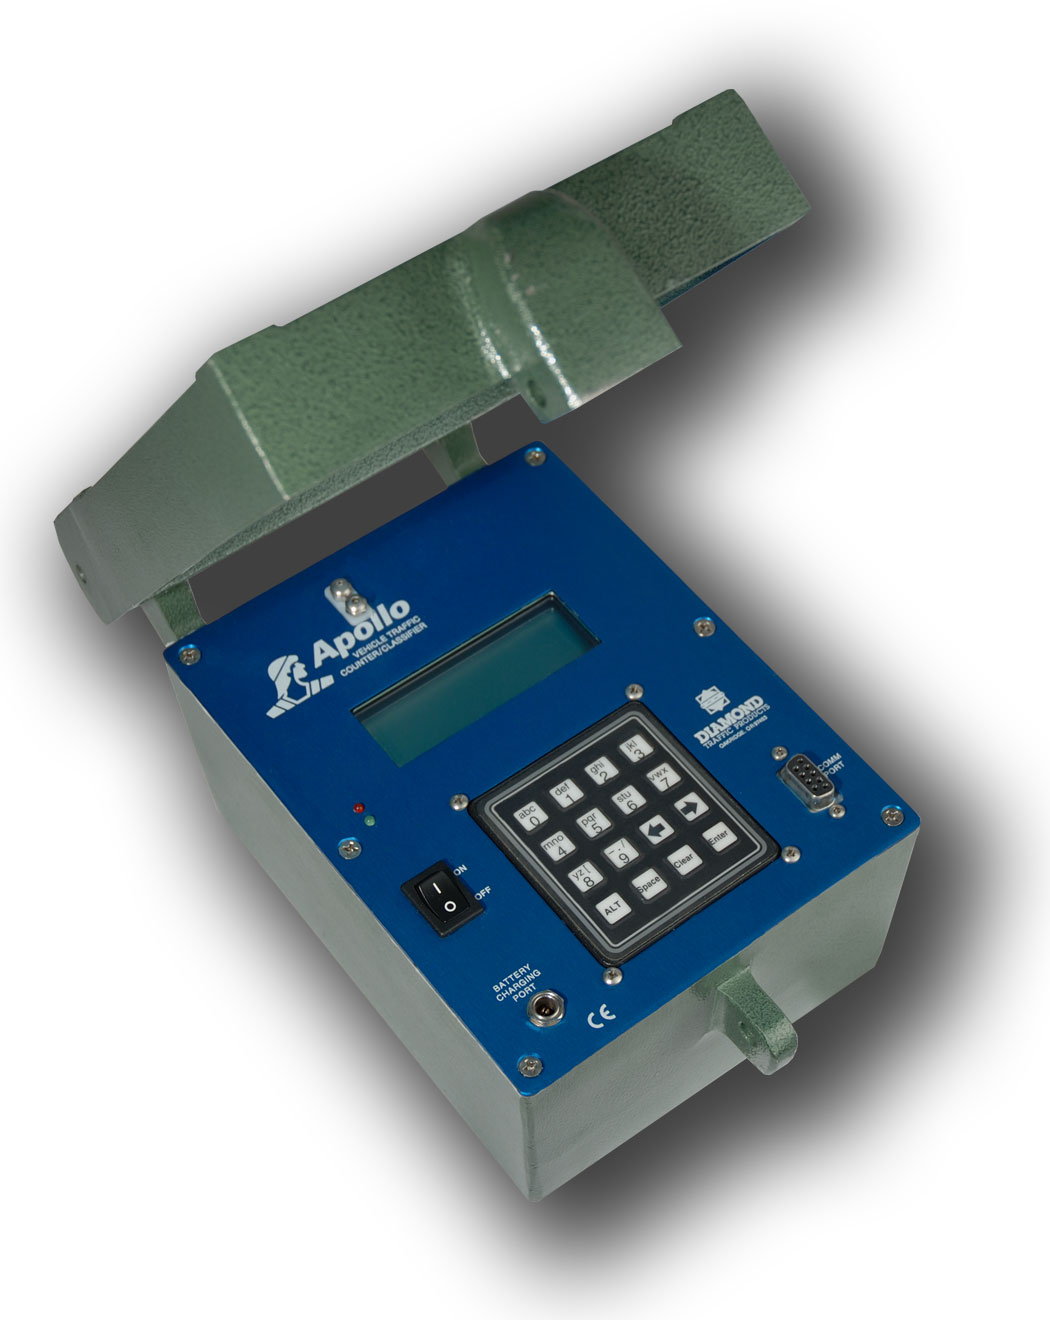
Apollo Quick Start Guide

Apollo Vehicle Traffic Counter Classifier Field Setup Procedure:
Once you've opened the unit to reveal its faceplate, toggle the Power switch to the "ON" position.
The unit should display its Name, Version Number and Release Date information.
The counter will display "Doing Self Test..." and then default to the SETUP screen.
From here enter the Station (or Site ID) name using the counter's keypad (for alpha characters depress the "ALT" button while selecting the appropriate letters). Your Site ID is limited to 15 total characters.
NOTE: If you need to modify your Site ID, selecting the "Clear" button will reset the entire string of characters - but only appear when you start to re-enter (or type in) the new data. This function will not modify a portion of, or a single character within the existing string, unless you over-type that character in that position.
Step #1: You will see SETUP screen when you first turn on your Apollo counter.

Simply use the "ALT" and individual character keys to type in a name for your site. Press to "Enter" continue.
Step #2: Press "Enter" at this screen if the clock is correct, if it is not correct, press "0" and insert the correct time. Press "Enter" when you are finished.

Step #3: At this screen you can wait for a vehicle to go by to see if your setup is working properly. If it is, press "Enter"; if it is not, re-check the Setup and visually verify that the road tubes are connected properly. If it is, press "Enter"; if it is not, re-check the Setup and visually verify that the road tubes are connected properly.

If it is, press "Enter"; if it is not, re-check the Setup and visually verify that the road tubes are connected properly. At this point, if you want to change the tube configuration for the counter, you can press "Clear" and proceed to Step #3b.
If the lane configuration is set correctly, press "Enter" and leave the counter to collect data.
Note: You should see the screen on the counter appear to turn itself off, this is normal. Do not make the mistake of toggling the counter's power switch to the "off" postion. This will power down the unit and reder it inoperatble for data collection.
Step #3b: Press the arrow keys çè on this screen to select your tube configuration. Press "Enter" when you find the layout you need.

Step #4: If you are in count mode the screen will appear as shown left. Check to make sure the unit is collecting data correctly, then press to start collecting data.

Monitoring Collection:
To monitor data collection press "Enter" when the counter is collecting data (display will normally be blank). Display will turn on to this screen where you can monitor your lane volume as traffic passes to make sure the unit is operating correctly.

If you press "Enter" again you will see the system status screen.
Viewing System Status:
This screen displays the system status to see the information about the counter. When you are done press "Enter"

NOTE: If the battery voltage is 6.0 or less, the unit needs to be charged.
Please refer to “General Guidelines for Road Tube Installation” and the “Apollo GPS Guide” for further station and counter configuration, installation and setup information.
Related Articles
No related articles were found.
Attachments
No attachments were found.
Visitor Comments


 The article has been updated successfully.


